How to find stopcock before renovation work starts?
Renovation plans usually cover the layout, the budget and the schedule. The stopcock rarely makes the list, until a pipe is nicked during a wall chase and water starts running through a ceiling. Do you know where your stopcock is, and does it still turn?
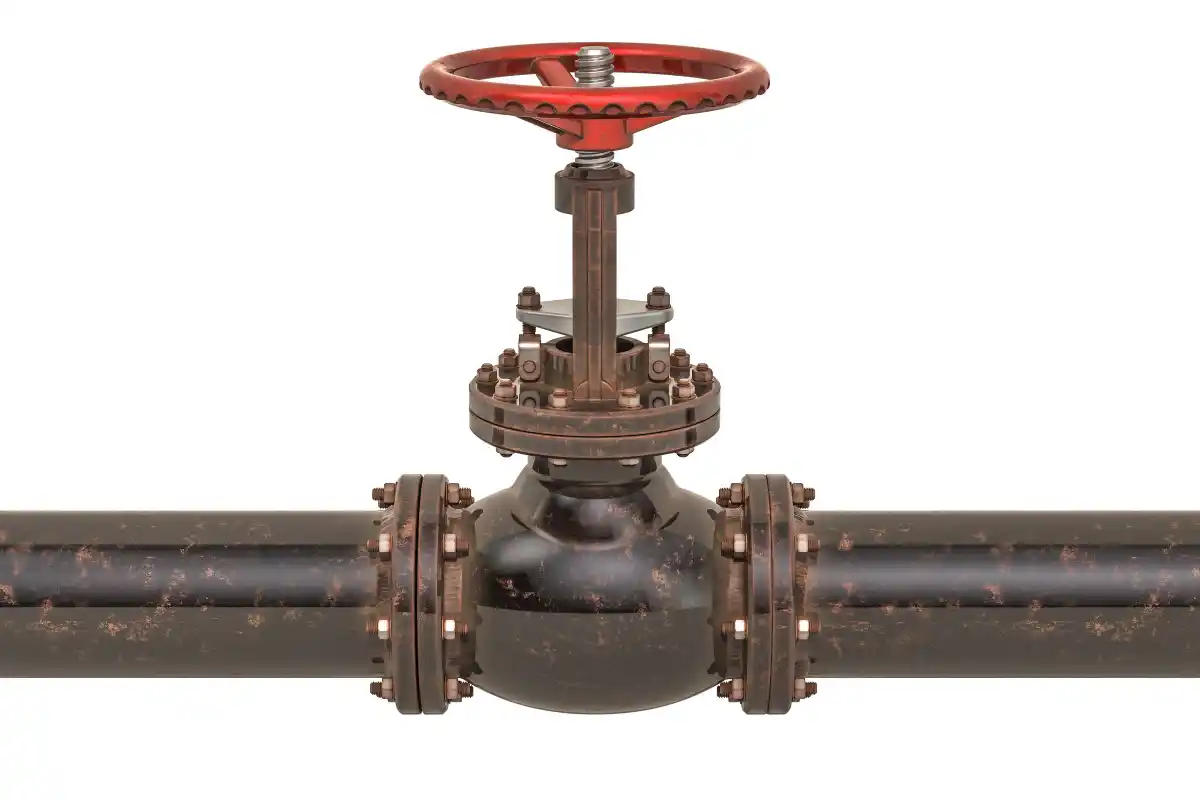
To find the stopcock, follow the mains water pipe from the point where it enters the home. The stopcock is the valve on that pipe, usually within a metre or two of the entry point. Knowing its position before the builders arrive is a ten-minute job that can limit the damage from an accident. In this guide we look at where to search, how to test the valve and what to agree with your contractor.
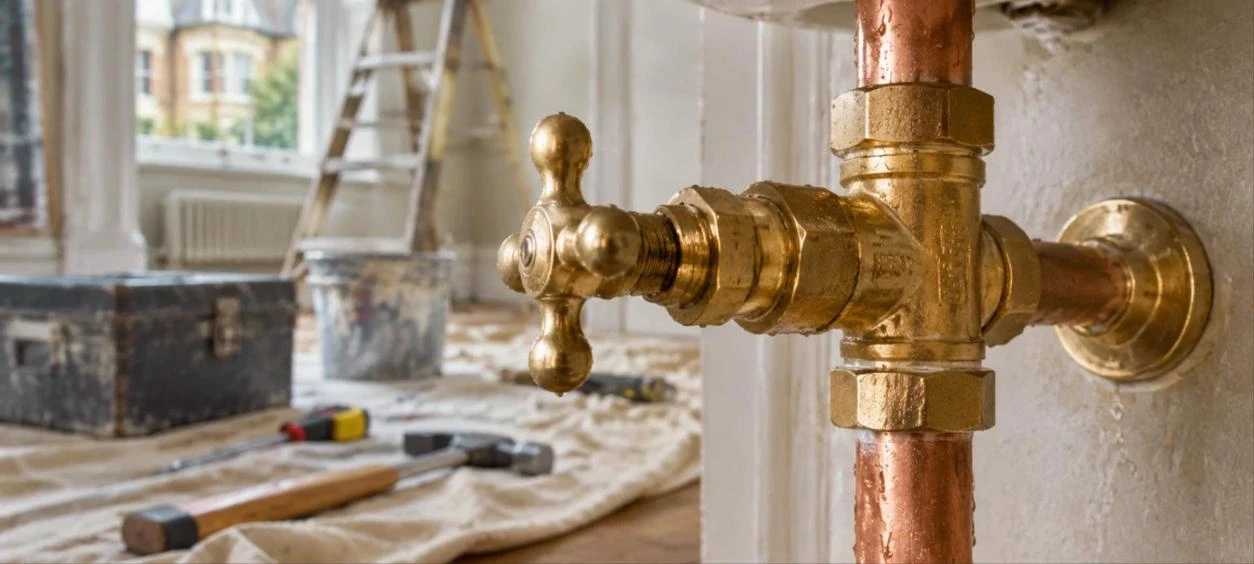
Where to look first
In most UK homes the mains pipe enters at the front or the side, so the stopcock is often close to an outside wall. These are the places that turn it up most often.
- Under the kitchen sink, where the pipe rises through the floor.
- In a utility room or a downstairs toilet.
- Under the stairs, in a cupboard or behind a boxed-in panel.
- In a cellar or a garage, in older houses.
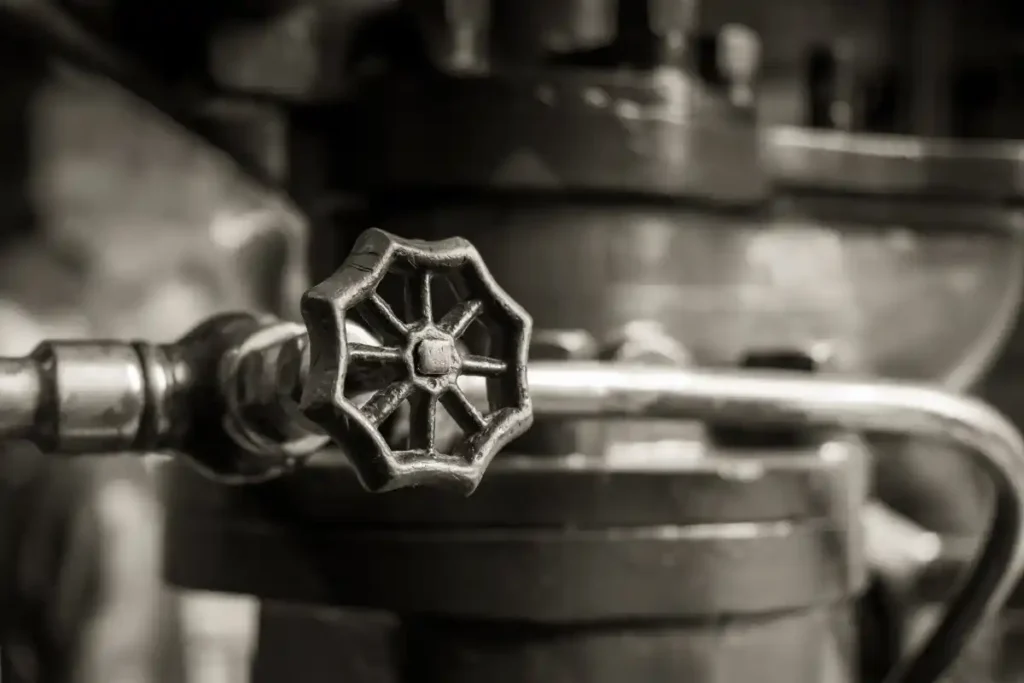
If the kitchen sink has a rising pipe at the back, follow it down. The valve is often a brass tap with a round wheel head, or a lever on newer pipework. Flats can differ. Some have a stopcock inside the flat, while others share a valve in a communal riser, and you will need the building manager for that one.
Check the outside stopcock too
There is usually a second valve outside, under a small metal or plastic cover in the pavement or the front garden. It belongs to the water company or sits on the boundary, and it is for emergencies. You normally need a key tool to turn it, so do not rely on it for planned work.
Take photographs of both valves and write their locations on a sheet that stays with the project file. Builders change during a job, and a sheet saves time when a new person arrives.
Test that it turns
A stopcock that has not moved for years can seize. Turn the wheel clockwise to close it, slowly and without force. Then open a cold tap and wait for the flow to stop. If it stops, the valve works. Open it again by turning anticlockwise, and give it a quarter turn back so it does not stick fully open.
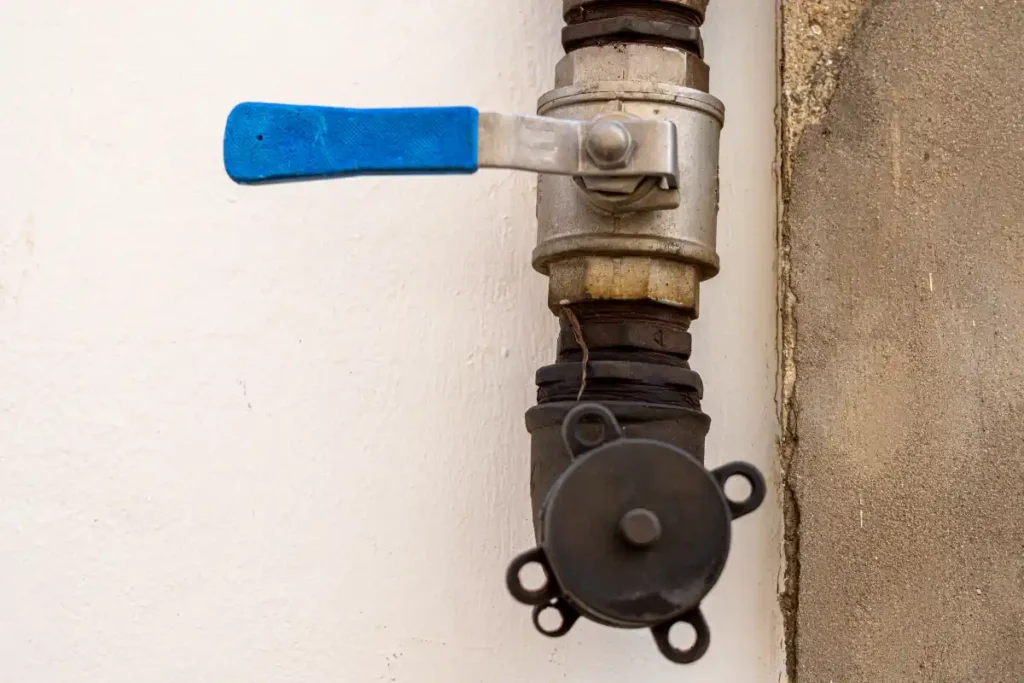
A valve that will not move, or that drips around the spindle, needs attention before any building work starts. Forcing it can snap the spindle and leave you without any shut-off at all. This is a job for a plumber.
What to agree with your contractor
Before work starts, show the contractor where the stopcock is. Ask them to tell their team too. Many accidents happen on day three, when the person who knew the location is not on site.
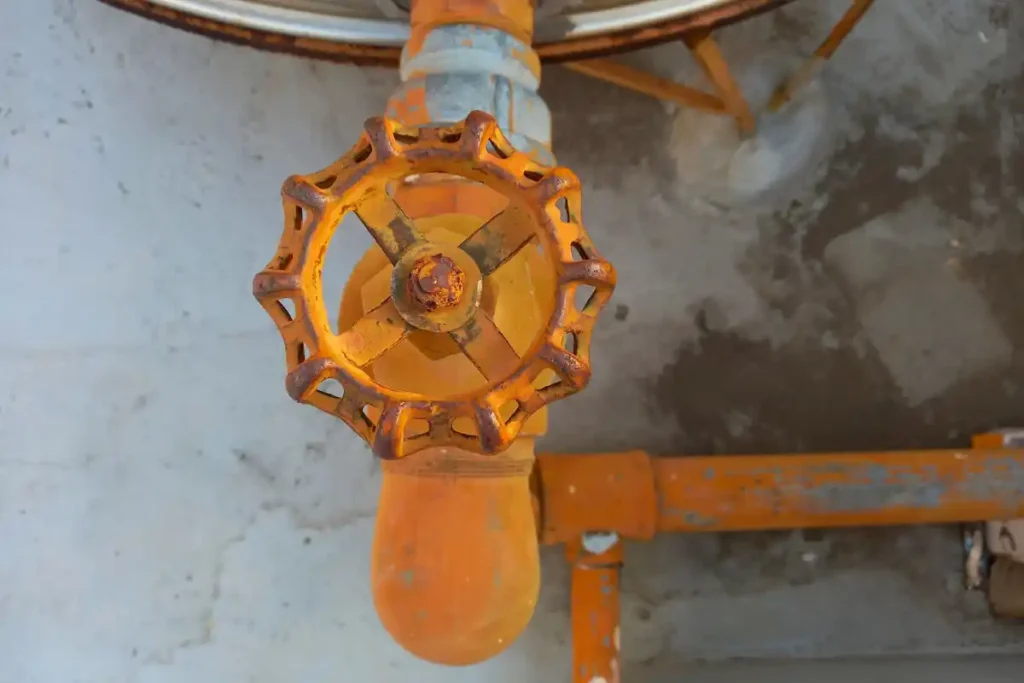
Plan the water shut-off for jobs that touch pipes. Moving a radiator, fitting a new sink or chasing a wall near a pipe all call for the water to be off. Ask for a short note in the schedule that says who closes the valve and who opens it again afterwards.
If a pipe is hit during the work
A pipe struck by a drill or nail can release a lot of water in a few minutes. The first action is always the same. Close the stopcock, then switch off the electricity at the consumer unit if water is near sockets or lights. Open the cold taps to drain the pipes and ease the flow.
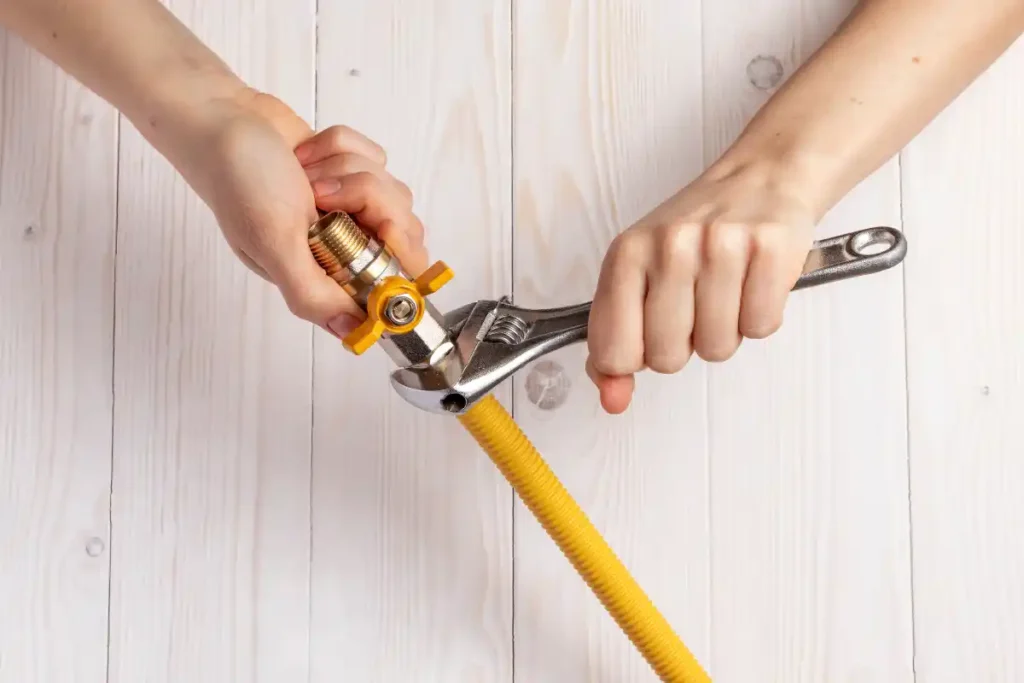
Once the water is under control, stop the building work in that area and call a plumber. Our burst pipe emergency in london guide explains the steps in more detail, including what to photograph for an insurer. Do not cover or plaster over a damp patch until a plumber has checked the pipe.
Other valves worth finding now
The stopcock is the main shut-off, but a home has more. Look for isolation valves under sinks, behind toilets and on the pipes that feed the boiler and radiators. Each one is a small lever or a slot that takes a screwdriver. Closing it cuts water to one fitting only, so a job on a single tap does not leave the whole home without water.
Label each valve with a tag. If you have a combi boiler, find the filling loop and the pipe that feeds it as well, because some builders will ask you to isolate the boiler during floor work.
A short pre-renovation checklist
- Find the stopcock and photograph it.
- Test that it turns, and book a plumber if it does not.
- Tell every contractor where it is.
- Know where the consumer unit is.
- Keep a bucket, towels and a torch near the work area.
A few minutes spent on these five points before a renovation starts is worth far more than the same minutes during a leak, when every second counts and the floor is already wet.
First minutes after a pipe is damaged
If a pipe is hit during the works, the order of actions matters. Close the stopcock first so that the flow stops. If water is near sockets, lights or the consumer unit, keep away from them and switch off the power only if you can reach the unit without standing in water. Then move belongings out of the wet area and photograph the damage with the date, because an insurer may ask for a record.
A damaged pipe can pour a surprising amount of water into a ceiling or floor void in a short time. That is why people who know the valve location before the work starts usually lose far less to an accident than those who spend the first minutes searching.
Restarting the water after the work
When the job is finished, open the stopcock slowly and watch the new joints as the pipes fill. Run the nearest cold tap until the flow runs clear, because debris can reach the tap after pipework has been cut. Check the joints again after an hour and again the next morning for drips or damp marks. Add the date to your location sheet, so that the next person knows the valve was tested and turns freely.

Tanmay Arora, is an Architect with an experience of 13+ years. He is a Management Grad with a post Graduate Diploma in Building Construction and Materials. Tanmay has worked with renowned firms. He has graduated in Bachelor of Architecture. His deep interest in Architecture and Civil Engineering and his experience has made him one of the best architects a client can think of.